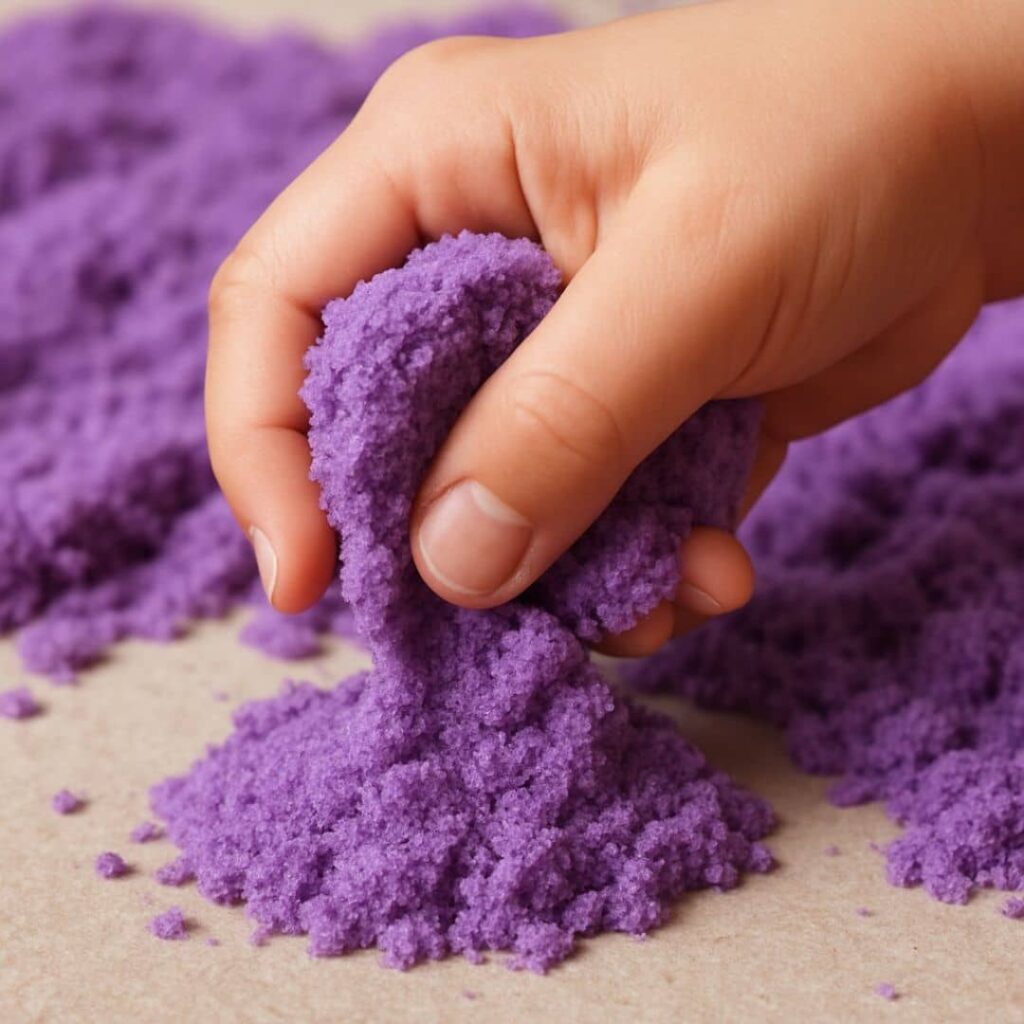
Is your child craving beach vibes but you’re stuck indoors? This homemade kinetic sand recipe brings the beach to your living room. Soft, moldable, and deeply satisfying to play with, kinetic sand is the perfect activity for sensory play, creative fun, and hands-on learning. Best of all, it’s easy to make with simple ingredients you likely already have.
Whether you’re planning a sensory bin, a rainy-day activity, or a quiet morning craft, this DIY kinetic sand is a favorite for kids of all ages. It looks and feels like beach sand, but it holds its shape when pressed and flows smoothly through your fingers. It’s like magic.
Why Kids and Parents Love Kinetic Sand
Kinetic sand isn’t just fun, it’s also calming, mess-friendly, and surprisingly educational. Here’s what makes it such a hit at home and in classrooms.
- Soothing and relaxing to touch
- Easy to clean compared to regular sand
- Perfect for sculpting and creative play
- Great for building fine motor skills and hand strength
- Helps children focus and self-regulate
- Customizable with scents, colors, or textures
It’s a simple way to combine fun with real developmental benefits.
What You’ll Need to Make Kinetic Sand
Ingredients
- 2 cups fine sand, clean and dry (craft sand or play sand works best)
- 1 cup cornstarch or all-purpose flour
- 1/2 cup white or clear school glue
- 1 to 2 tablespoons of water
- Optional: food coloring, glitter, cocoa powder, essential oils
Tools
- Large mixing bowl
- Spoon or spatula
- Measuring cups and spoons
- Airtight container or ziplock bag for storage
Step-by-Step Instructions
1. Add the sand
Start by pouring 2 cups of clean, dry sand into a large mixing bowl. Choose colored sand for a vibrant effect or natural play sand for a beachy look.
2. Mix in the cornstarch or flour
Add 1 cup of cornstarch or flour to the sand. Mix well until both dry ingredients are fully blended.
3. Add the glue
Pour in 1/2 cup of white or clear glue. Stir thoroughly until the mixture begins to form clumps and stick together.
4. Add water slowly
Add 1 tablespoon of water at a time, mixing after each addition. Stop when the texture becomes soft and moldable. It should hold its shape when squeezed but still break apart gently.
5. Customize the texture and look
If desired, add food coloring to the glue before mixing it in. Sprinkle in glitter or cocoa powder for extra sensory appeal. You can even add a few drops of essential oil for a relaxing scent.
What Makes Kinetic Sand So Unique
Kinetic sand behaves like no other material. It holds its shape like clay, yet crumbles like dry sand when released. This is due to the special interaction between glue, starch, and water.
The glue adds stickiness and elasticity, while the cornstarch softens the mixture and creates a silky texture. Water activates both ingredients, producing a soft, flowy material that feels therapeutic to manipulate.
This DIY version mimics commercial kinetic sand using safe, easy-to-find household ingredients.
Pro Tips for Perfect Kinetic Sand
- Use colored craft sand to avoid the need for food dye
- Mix and knead thoroughly for best texture
- If the sand is too dry, add a drop of water and knead again
- If the sand is sticky, add more cornstarch or flour
- Use essential oils for scent, but start with just one drop
What Kids Learn from Playing with Kinetic Sand
While it may feel like just play, kinetic sand supports a child’s growth in many areas. Here’s what makes it an ideal activity for home or school.
- Strengthens hand muscles and fine motor coordination
- Encourages calm and focus during play
- Boosts creativity, problem-solving, and spatial awareness
- Offers sensory input that supports self-regulation
- Teaches texture vocabulary and descriptive language
Kinetic sand is also a great screen-free activity that keeps kids engaged and curious.
How to Store Kinetic Sand
To make your batch last longer:
- Store in an airtight container or ziplock bag
- Keep it in a cool, dry place
- Avoid heat or direct sunlight
- If it dries out, knead in a few drops of water
- If it becomes sticky, add a sprinkle of cornstarch
- Use within two to three weeks for best results
Creative Variations to Try
| Theme | Add-ins | Result |
|---|---|---|
| Beach Sand | Tan sand and vanilla extract | Soft and natural |
| Galaxy Sand | Black craft sand and silver glitter | Cosmic and sparkling |
| Hot Cocoa Sand | Brown sand and cocoa powder | Scented and cozy |
| Party Sand | Rainbow sprinkles and bright food dye | Playful and festive |
Common Mistakes to Avoid When Making Kinetic Sand
Even though this recipe is simple, a few small missteps can lead to the wrong texture or mess. Here’s how to avoid the most common problems.
Using the wrong type of sand
Always use fine, clean sand. Beach sand or construction sand can contain debris and moisture, which will ruin the texture.
Skipping the kneading
Each stage requires mixing and kneading. Don’t skip this step. Proper kneading helps the ingredients bind and softens the final texture.
Adding too much water
Water should always be added gradually. Adding too much too fast will make the sand sticky or slushy.
Using too many add-ins
Too much glitter, color, or cocoa powder can make the sand too wet or crumbly. Add these elements in moderation.
Improper storage
Leaving the sand exposed to air can cause it to dry out. Always store it in a sealed container after play.
FAQ
Can I use sugar or salt instead of sand?
No. Those ingredients absorb moisture or dissolve, which affects the texture. Stick with real sand.
What if my kinetic sand dries out?
Add a few drops of water and knead it back to life.
Is this recipe safe for toddlers?
Yes, but it is not edible. Always supervise younger children during sensory play.
Can I use gluten-free flour?
Yes. The texture may change slightly, but it’s a good option for sensitive children.
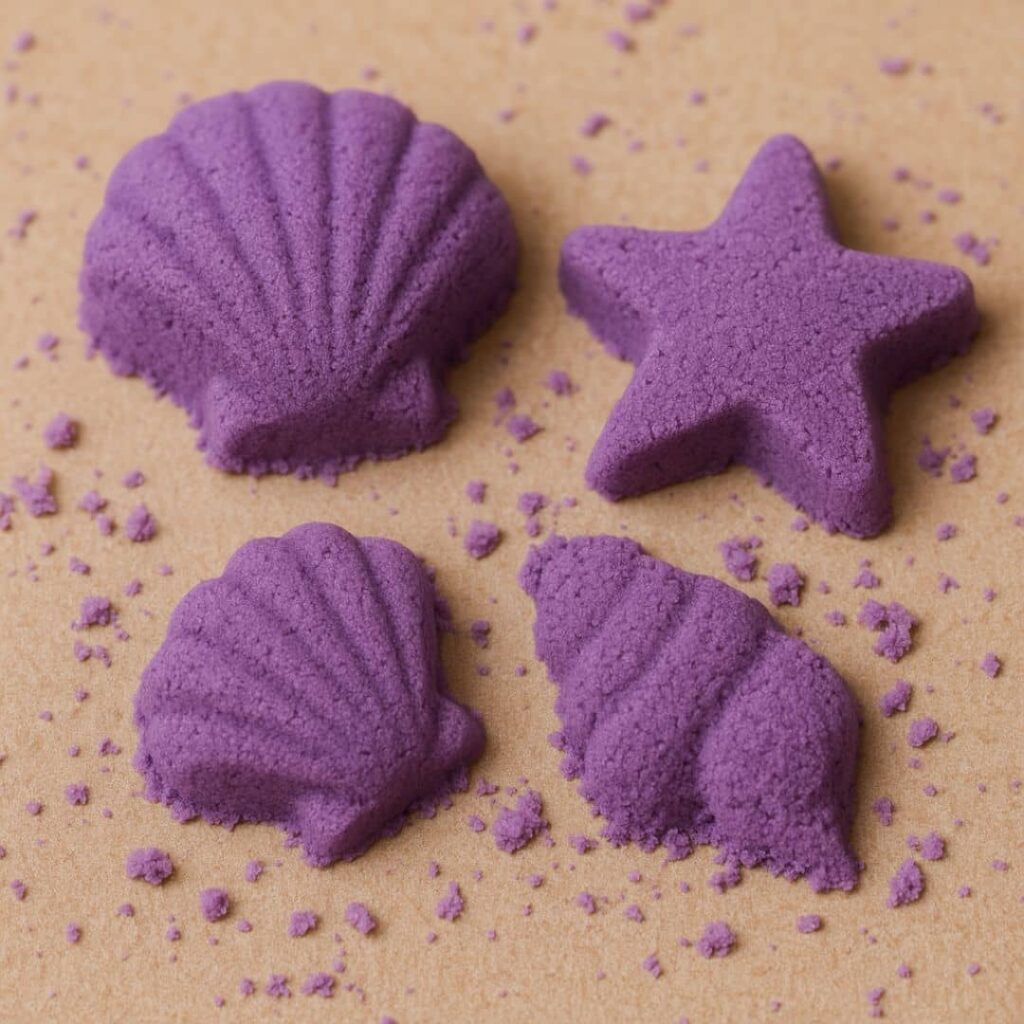
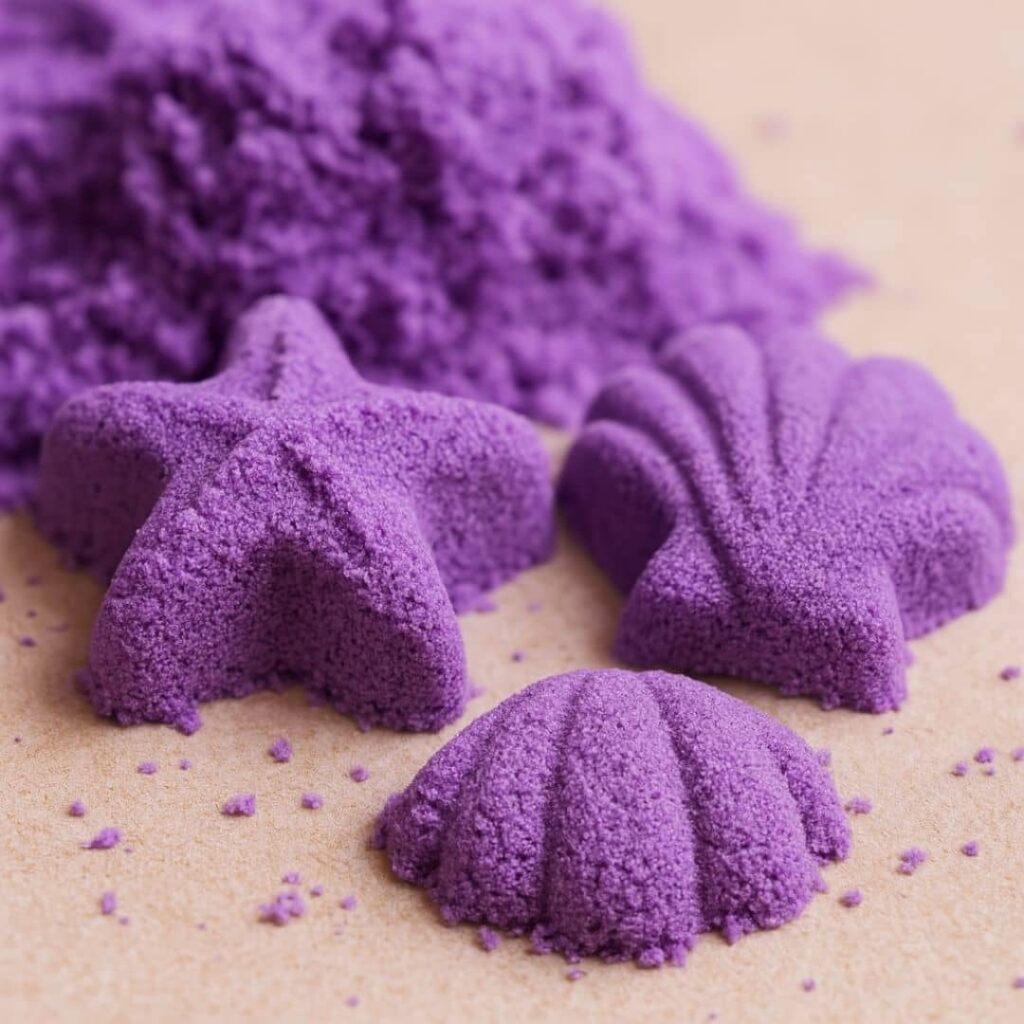
This kinetic sand recipe is easy to make, fun to play with, and full of benefits for sensory development. Whether you’re building mini sandcastles, using cookie cutters, or just letting little fingers squish and squeeze, this activity is sure to become a favorite in your home.
It’s a simple way to create magic with everyday ingredients, right at your kitchen table.