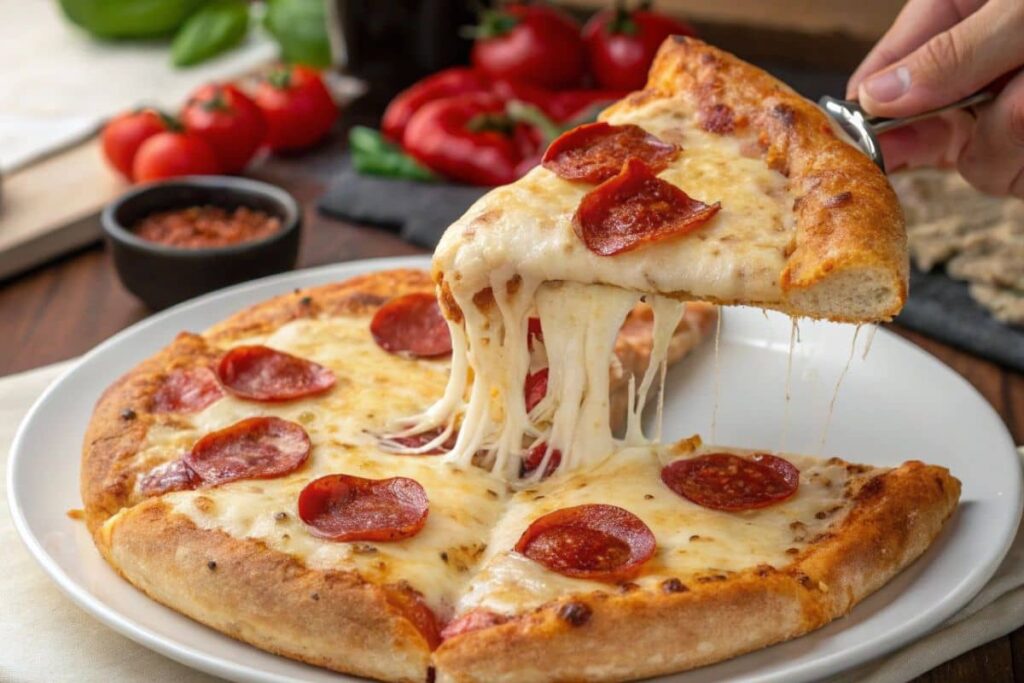
Who doesn’t love a slice of warm, cheesy pan pizza with a golden, crispy crust? Whether it’s for a weekend dinner or a party with friends, pan pizza always hits the spot. The best part? You can make it at home! In this guide, we’ll walk you through everything, from ingredients to baking, so you can create a masterpiece right in your kitchen.
Table of Contents

Introduction to Pan Pizza
What Makes Pan Pizza Unique?
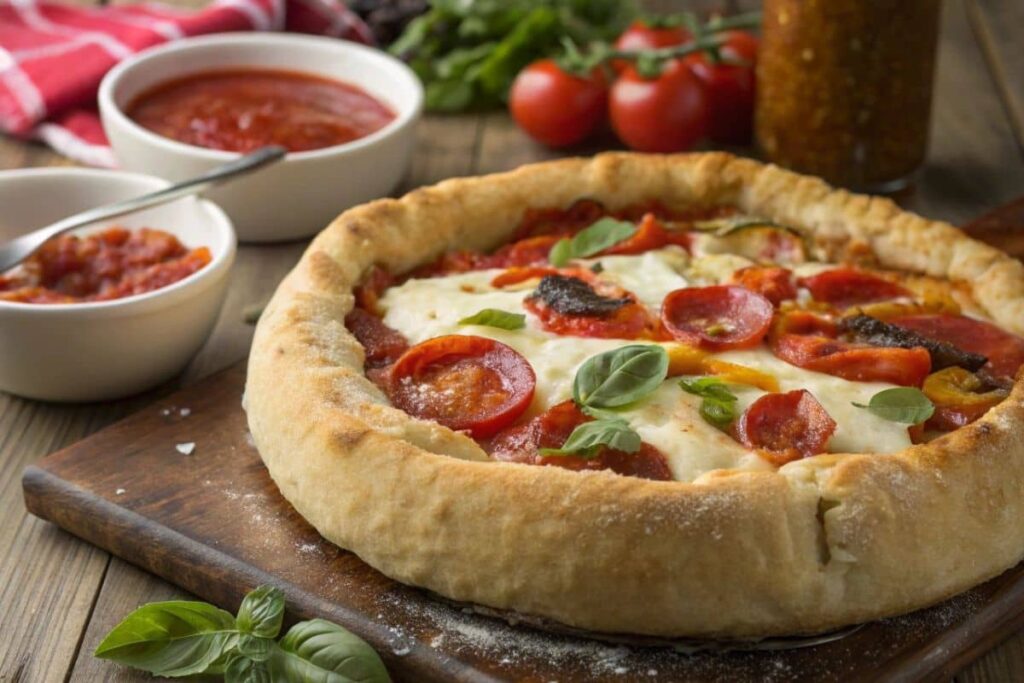
Pan pizza stands out from other styles because of its thick, fluffy crust. Unlike thin crust pizzas, pan pizza is baked in a deep, well-oiled pan, which creates a crispy bottom layer and a soft, airy interior. It’s almost like a hybrid between pizza and breadsticks, but with all the delicious toppings you love!
“Pan pizza is like the cozy sweater of the pizza world—warm, comforting, and perfect every time.”
A Brief History of Pan Pizza
Pan pizza has roots in the Italian-American tradition, with deep-dish versions becoming famous in cities like Chicago and Detroit. Over time, this style evolved to include variations that are easy to make at home, allowing everyone to enjoy its buttery crust and gooey toppings.
Essential Ingredients for Pan Pizza
Before we dive into the process, let’s gather everything you’ll need. Great pizza starts with great ingredients, so don’t skimp on quality!
Choosing the Right Flour for the Dough
The foundation of any pizza is its dough. For pan pizza, you’ll want to use bread flour. Why? It has a higher protein content, which helps create that chewy texture. If bread flour isn’t available, all-purpose flour will work as a backup.
The Perfect Cheese Blend for Pan Pizza
A combination of mozzarella and cheddar works wonders. Mozzarella gives you that stretchy, melty goodness, while cheddar adds a sharp, savory kick.
Best Sauces to Use for Pan Pizza
A rich tomato-based sauce is the classic choice. Look for something thick with a hint of garlic and basil for the perfect balance of flavors. Homemade sauces are even better if you have the time!
Toppings: Classic vs. Creative Options
The sky’s the limit here! Go traditional with pepperoni and mushrooms, or get creative with barbecue chicken, pineapple, or even spinach and feta.
Equipment You Need to Make Pan Pizza
Making pan pizza doesn’t require a fancy setup, but the right tools make the process easier.
The Right Pan for the Perfect Crust
A cast-iron skillet or a non-stick cake pan is ideal. These pans hold heat well and ensure an even, golden crust.
Other Tools for Making Pan Pizza
- Mixing bowls for the dough
- Rolling pin to shape the base
- Pizza cutter for neat slices
- Oven thermometer to monitor temperature
How to Make Pan Pizza Dough
Making the dough is where the magic begins. Don’t worry if you’ve never made pizza dough before—it’s easier than you think!
Step 1: Mixing the Ingredients
Here’s a simple recipe to get started:
| Ingredient | Quantity |
|---|---|
| Bread flour | 3 cups |
| Warm water (110°F) | 1 ¼ cups |
| Instant yeast | 2 ¼ tsp |
| Sugar | 1 tbsp |
| Salt | 1 tsp |
| Olive oil | 2 tbsp |
- In a mixing bowl, combine warm water, yeast, and sugar. Let it sit for 5 minutes until bubbly.
- Add the flour, salt, and olive oil. Mix until a sticky dough forms.
Pro Tip: Always measure your ingredients accurately. A little too much flour can make the dough tough!
Step 2: Kneading Techniques for Soft Dough
Once the ingredients are combined, knead the dough on a floured surface for 8–10 minutes. It should feel smooth and elastic. If it’s too sticky, sprinkle a bit more flour.
Step 3: Resting and Proofing the Dough
Place the dough in a greased bowl, cover it with a clean towel, and let it rise for 1–2 hours in a warm spot. It should double in size.
“Patience is key! Letting the dough rise properly gives you that fluffy crust we all crave.”
Preparing the Pan Pizza Base
How to Oil and Prepare the Pan
The pan is where the magic begins, and properly preparing it is essential for that perfect, crispy crust. Start by choosing the right pan—preferably a cast-iron skillet or a deep, non-stick pan. These options retain heat evenly and give the crust its signature texture.
Generously coat the entire interior of the pan with extra virgin olive oil. Use about 2–3 tablespoons, ensuring the oil covers the base and sides of the pan. Don’t be shy—this step is key to achieving that crunchy, golden crust that pan pizzas are famous for. You can use a pastry brush for an even application or tilt the pan to spread the oil.
Pro Tip: For an extra layer of flavor, sprinkle a pinch of garlic powder or dried herbs into the oil before adding the dough. This infuses the crust with subtle seasoning as it bakes.
Stretching the Dough for a Perfect Fit
Once your dough has risen to its fluffy potential, punch it down gently to release any excess air. Transfer it to a floured surface and begin shaping.
Instead of rolling the dough too thin, use your hands to stretch it. Hold the edges and let gravity do some of the work, rotating the dough as you go. This method helps retain air bubbles for a light, airy crust. Stretch it to roughly match the size of your pan, leaving the edges slightly thicker for a classic pan pizza crust.
Carefully lay the dough into the prepared pan, pressing it into the edges with your fingers. If it springs back, let it rest for 5–10 minutes to relax the gluten, then stretch it again.
Don’t stress about perfection! A slightly uneven dough adds character to your homemade pizza.
Assembling Your Pan Pizza

Now comes the exciting part—assembling your pizza! This step is where you can let your creativity shine, combining flavors and textures to create a pie that’s uniquely yours.
Spreading the Sauce Evenly
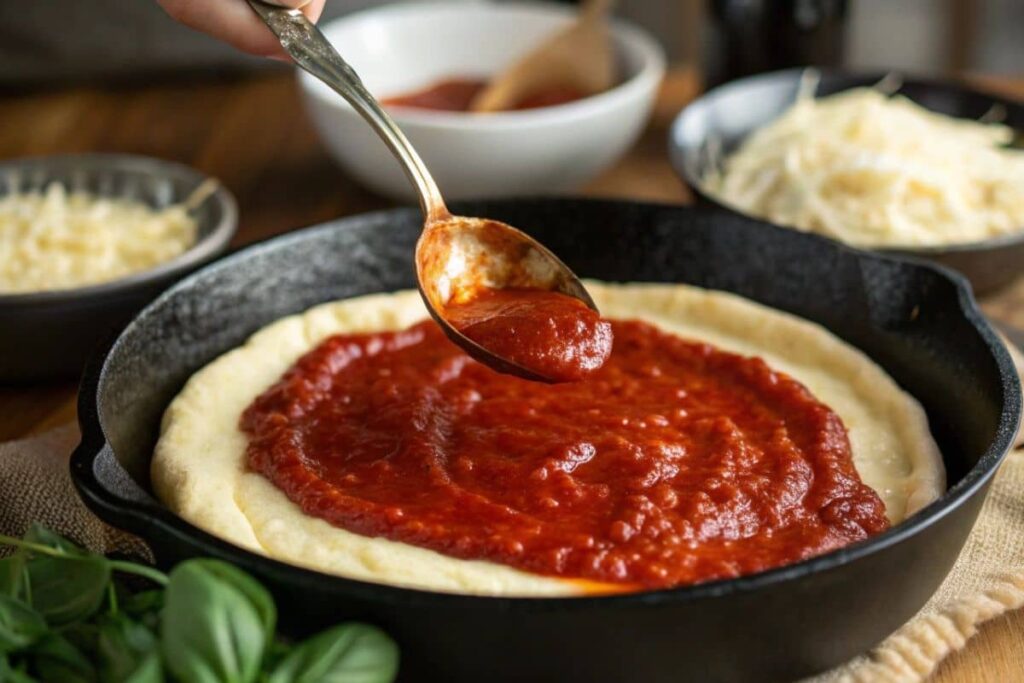
A great pizza starts with a flavorful base, and the sauce is where it all begins. Take about 1/2 to 3/4 cup of pizza sauce (store-bought or homemade) and spoon it onto the dough.
Using the back of the spoon, spread the sauce evenly in a circular motion, starting from the center and working outward. Be sure to leave about 1 inch of space around the edges for the crust to rise and bake beautifully.
Remember: Less is more! A thin, even layer of sauce ensures your pizza bakes evenly without turning soggy.
Adding the Cheese and Toppings
Once your sauce is evenly spread, it’s time to bring on the cheese! Start with 2 cups of shredded mozzarella, spreading it across the base. For extra flavor, sprinkle 1/2 cup of shredded cheddar or your favorite blend of cheeses over the mozzarella. The combination creates a gooey, melty topping with a hint of sharpness.
When it comes to toppings, the choices are endless. Whether you’re a fan of classic options like pepperoni, mushrooms, and onions, or adventurous combos like barbecue chicken with pineapple, the key is balance.
- Heavier toppings (like meats or large vegetables): Place these closer to the center of the pizza to ensure even baking.
- Lighter toppings (like fresh herbs or spinach): Scatter these closer to the edges to prevent burning.
If you’re adding delicate greens, like arugula or basil, wait until the pizza is out of the oven to preserve their freshness.
Layering Tips for Even Cooking
To achieve the best results, think strategically about layering:
- Start with sauce. It creates a base layer of moisture.
- Add a light sprinkle of cheese. This helps toppings stick.
- Place toppings. Distribute evenly for a harmonious bite.
- Finish with more cheese. This creates a melty blanket over the toppings.
This layering method prevents toppings from sliding off and ensures everything is cooked to perfection.
Bonus Tip: If you’re using raw vegetables, consider pre-cooking or lightly sautéing them. This reduces their water content and prevents the pizza from getting soggy.
Baking the Pan Pizza
Preheating the Oven for Optimal Results
A hot oven is critical for great pizza. Preheat your oven to 475°F (245°C) about 20 minutes before baking. If your oven runs hot or cold, use an oven thermometer to double-check the temperature.
Baking Time and Temperature
Place your pan pizza on the middle rack and bake for 15–20 minutes. The edges should puff up and turn golden brown, while the cheese becomes bubbly and slightly caramelized.
“Keep an eye on it during the last few minutes. A perfectly baked pizza is a work of art!”
Checking for the Perfectly Cooked Crust
Lift the pizza slightly with a spatula to peek at the bottom. It should be crispy and golden, not pale or soggy.
Troubleshooting Common Pan Pizza Problems
Even with the best intentions, things don’t always go as planned. Here are some common issues and how to fix them:
Why Is My Crust Too Hard? Solutions and Tips
- Problem: Overworking the dough or baking too long.
- Solution: Handle the dough gently during kneading and keep an eye on the bake time.
Fixing a Soggy Crust: What Went Wrong?
- Problem: Too much sauce or toppings.
- Solution: Use a light layer of sauce and evenly distribute toppings. Baking on a preheated pizza stone can also help.
Uneven Baking: Causes and Fixes
- Problem: Incorrect oven temperature or positioning.
- Solution: Always preheat your oven and bake on the middle rack for even heat distribution.
Creative Pan Pizza Variations to Try
Why stop at the basics when you can get creative? Here are some exciting twists to try:

Stuffed-Crust Pan Pizza
Add mozzarella sticks or shredded cheese along the edge of the dough, then fold the edges over to seal. It’s like having pizza and cheesy bread in one bite!
Gluten-Free Pan Pizza Options
Use a gluten-free flour blend to make the dough. While it might not rise as much, the flavor can be just as satisfying with the right toppings.
Vegan Pan Pizza Ideas
Swap out the cheese for plant-based alternatives and load up on veggies like roasted peppers, artichokes, and olives. Drizzle with a bit of olive oil for extra richness.
Tips for Serving and Storing Pan Pizza
Best Practices for Slicing and Serving
Let the pizza rest for about 5 minutes after baking—this prevents the cheese from sliding off when you cut it. Use a sharp pizza cutter for clean slices.
How to Reheat Leftover Pan Pizza
Reheating pizza in the oven or a skillet works best to maintain the crust’s crispiness. Avoid the microwave, as it can make the crust soggy.
Nutrition Facts
Here’s a quick breakdown of the nutritional value for a classic cheese pan pizza (per slice, assuming 8 slices):
| Nutrient | Amount |
|---|---|
| Calories | 320 kcal |
| Total Fat | 14 g |
| Saturated Fat | 6 g |
| Carbohydrates | 36 g |
| Protein | 12 g |
| Sodium | 550 mg |
“Remember, homemade pizza means you can control the ingredients, making it as healthy (or indulgent) as you like!”
FAQ: All About Pan Pizza
Here’s a quick FAQ section to address some common questions related to pan pizza and other pizza styles.
What Is Brooklyn Style Pizza?
Brooklyn style pizza is known for its thin, crispy crust that’s slightly chewy, making it easy to fold a slice in half for that classic New York eating experience. Unlike pan pizza, which has a thick and fluffy crust, Brooklyn-style pizza prioritizes a lighter base with simple toppings. Want to learn more? Discover What Makes Brooklyn Style Pizza Unique.
Is Deep Dish Pizza Healthier Than Regular Pizza?
Deep dish pizza, with its thick crust and layered toppings, is often higher in calories and fat compared to regular thin-crust pizza. This is due to the larger amount of dough, cheese, and sauce used. However, it all comes down to portion control and ingredient choices. For a detailed comparison, check out Is Deep Dish Pizza Healthier Than Regular Pizza?.
What’s the Difference Between Pan Pizza and Hand-Tossed Pizza?
The key difference lies in the crust. Pan pizza has a thick, fluffy crust baked in an oiled pan, creating a crispy bottom layer. On the other hand, hand-tossed pizza has a thinner crust that’s stretched by tossing the dough in the air. It’s more traditional and slightly chewier. Curious about hand-tossed pizza? Read more here: Everything You Need to Know About Hand Tossed Pizza.
Conclusion
Making pan pizza at home isn’t just about the food—it’s an experience. From kneading the dough to watching the cheese bubble in the oven, every step is rewarding. And the best part? You can customize it however you like.
So, what are you waiting for? Gather your ingredients, grab your pan, and get baking! Don’t forget to share your creations with friends and family—they’ll be asking for your recipe in no time.
“Pizza isn’t just a meal—it’s a way to bring people together.”


