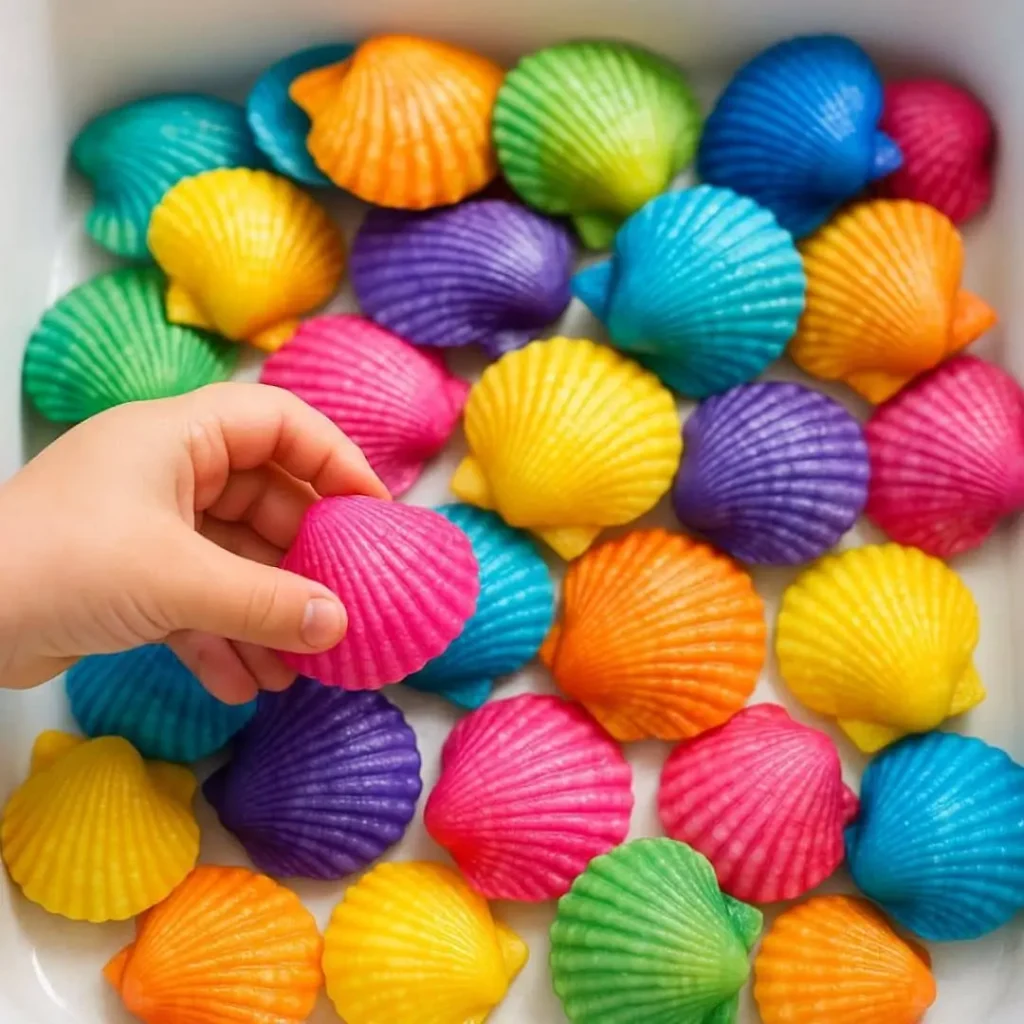
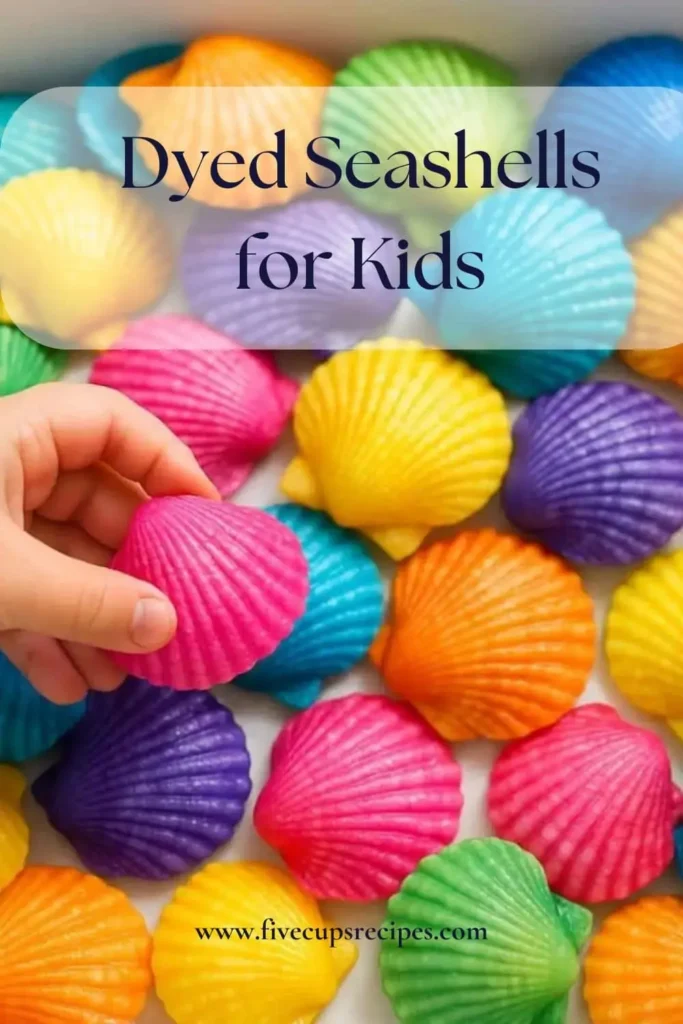
Dyed seashells are a fun and creative summer activity that kids will love, and one of our favorites for a summer sensory bin. My kids had so much fun with this! We did this project on a rainy afternoon and couldn’t stop talking about how beautiful the colors turned out. Not only is it a colorful and engaging activity, but it also makes for a versatile sensory bin addition that can inspire imaginative play. If you’re looking for something unique to try with your little ones, dyeing seashells is worth it.
Why Make This Activity
This activity is fantastic for promoting creativity, sensory play, and fine motor skills. Kids get to explore colors, textures, and even the science of mixing dyes. It’s an opportunity for siblings or classmates to come together, creating a collaborative experience. Whether for birthday parties, school projects, or just a fun afternoon at home, dyed seashells can add a unique touch to crafts, decorations, or playtime scenarios. The finished product can be used in a sensory bin to stimulate exploration and open-ended play.
How to Make Dyed Seashells
Dyeing seashells is a straightforward and enjoyable process. Begin by visualizing a palette of vibrant colors, imagining how beautiful they’ll look in your sensory bin. Adult supervision is required for younger children, especially when organizing the dyes or working with water. However, kids can actively participate in every step of the process—making it a collaborative project!
Materials Needed:
- Clean, dry seashells (various sizes)
- Food coloring or liquid watercolors
- White vinegar
- Bowls or cups for dye
- Water
- Plastic tray for easier cleanup
- Gloves (optional for easier clean-up)
- Plastic dropper or spoon
Steps:
- Prepare Your Setup: Lay down newspapers or a plastic tablecloth to protect your work surface. Gather all your materials for easy access.
- Mix the Dye: In each bowl or cup, mix 1 cup of water with 1 tablespoon of white vinegar and a few drops of food coloring or liquid watercolor to create your desired color.
- Submerge the Shells: Carefully place the seashells into the dye solution. You can use gloves to keep your hands clean. Allow the shells to soak for 15-30 minutes, checking in on the color occasionally.
- Dry the Seashells: Once the shells have reached your desired color, remove them from the dye solution and lay them on a towel to dry.
- Rinse Off (Optional): If you want a softer color, rinse the shells in clean water before drying. This step is optional, depending on your color preference.
- Store for Future Use: If you have leftover dye, store it in a sealed container to use for future projects or touch-ups.
Mini Tips:
- You can create color gradients by varying the dye concentration or soaking time.
- For an added touch, try adding a sprinkle of glitter to the wet shells once they’re wet for a shimmering effect.
How to Use or Play With Dyed Seashells
Once the seashells are dyed and dried, kids can enjoy them in numerous ways! They can use them for imaginative play, creating scenes from the beach or ocean adventures. Incorporating them into a sensory bin filled with sand, rice, or water can stimulate tactile exploration and storytelling. Encourage the kids to create educational activities, like sorting the shells by size or color, or using them for counting and math games.
How to Store or Reuse Dyed Seashells
Dyed seashells can last for a long time when stored properly. Keep them in a cool, dry spot in a closed container to prevent dust. If they start to lose vibrancy, you can give them a quick touch-up using the dye mixture again. They can also be reused for crafts or decor projects later.
Tips to Make Dyed Seashells Successful
- Choose the Right Shells: Use clean, dry shells to allow the dye to adhere better.
- Simplify for Younger Kids: Limit the number of colors or mix the dyes ahead of time to keep them engaged and focused.
- Manage the Mess: Make sure to cover your surfaces to minimize cleanup time.
- Use Non-Toxic Materials: If you’re concerned about safety, opt for natural dyes or washable materials.
- Encourage Creativity: Let kids experiment with different colors and combinations without strict guidelines to foster creativity.
What to Avoid When Making or Using Dyed Seashells
Avoid using materials that are not washable or non-toxic, as these can be unsafe for kids. Don’t skip rinsing the shells if you want a softer color. Ensure adequate drying time to prevent dye transfer when playing. Lastly, ensure that younger children are only using safe materials to avoid choking hazards with small shells.
Possible Variations : dye seashells
To keep this activity fresh, consider changing the theme! You can dye seashells in autumn colors for a fall sensory bin, use pastels for Easter, or even create holiday-themed shades. Another idea is to incorporate additional materials like sand or pebbles to enhance the sensory experience.
FAQs : Dye Seashells
1. What age is this activity suitable for?
Dyeing seashells can be adapted for children as young as 3, but it’s best suited for kids aged 4 and up. Adults should supervise younger children, particularly when handling dyes. Tailor the activity according to age by simplifying steps or providing additional support with the dyeing process.
2. How can I clean up after this activity?
To manage clean-up, wear gloves while dyeing to minimize stain risk on hands. You can also use a plastic table cover to contain the mess. If spills occur, quickly blot the area with water to avoid stains setting in. It also helps to have baby wipes or paper towels on hand for easy cleanup.
3. What if I don’t have seashells?
If you can’t find seashells, you can use other natural objects like stones or rocks. Just ensure they’re clean and dry before dyeing. Simple cardstock shapes cut into shell designs can also work as a wonderful alternative, allowing for a different creative twist.
Conclusion
Dyeing seashells for a summer sensory bin is a delightful and engaging activity that fosters creativity and sensory exploration. It’s a simple project that encourages imaginative play and cooperative learning. I invite you to give this colorful adventure a try—your kids will love it, and you might just spark a continued interest in creative projects! Don’t forget to share your creations with others or revisit this fun activity in the future. Enjoy the colorful journey!

Dyed Seashells
Ingredients
Materials Needed
- various sizes Clean, dry seashells
- 1 cup Water For mixing with vinegar and dye
- 1 tablespoon White vinegar
- a few drops Food coloring or liquid watercolors To create desired colors
- 1 each Bowls or cups for dye
- 1 each Plastic tray For easier cleanup
- optional Gloves For cleaner hands during the dyeing process
- 1 each Plastic dropper or spoon For applying dye
Instructions
Preparation
- Lay down newspapers or a plastic tablecloth to protect your work surface.
- Gather all your materials for easy access.
Mixing Dye
- In each bowl or cup, mix 1 cup of water with 1 tablespoon of white vinegar and a few drops of food coloring or liquid watercolor to create your desired color.
Dyeing Shells
- Carefully place the seashells into the dye solution. You can use gloves to keep your hands clean.
- Allow the shells to soak for 15-30 minutes, checking on the color occasionally.
Drying
- Once the shells have reached your desired color, remove them from the dye solution and lay them on a towel to dry.
Rinsing (Optional)
- If you want a softer color, rinse the shells in clean water before drying. This step is optional.
Storage
- If you have leftover dye, store it in a sealed container for future projects or touch-ups.