Looking for an easy and inexpensive way to entertain your kids? This DIY kinetic sand recipe is exactly what you need. With just a few ingredients from your kitchen and some clean sand, you can create a soft, moldable, and mess-friendly play material that children love. Whether you want to use it for crafts, therapy, or simply fun at home, kinetic sand offers both entertainment and developmental benefits.
What Is Kinetic Sand?
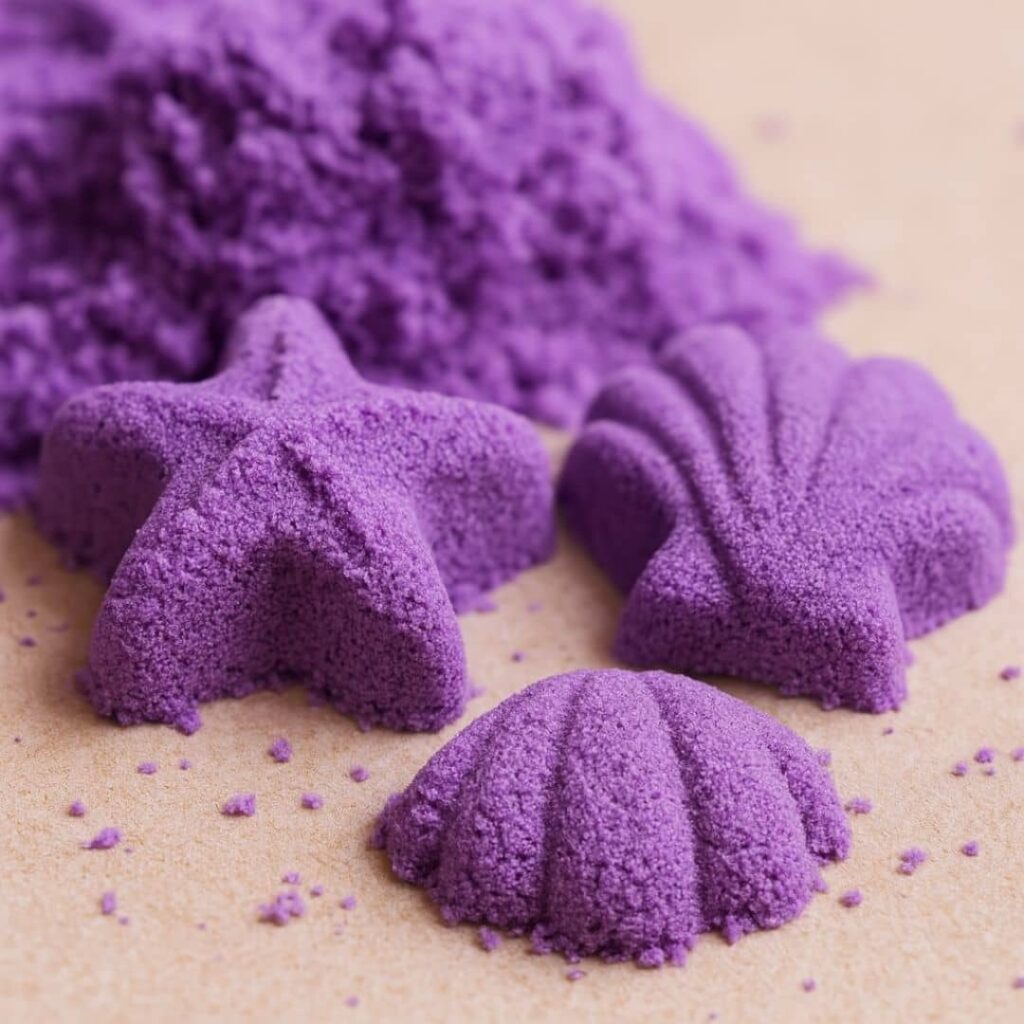
Kinetic sand is a special type of sand that sticks to itself but not to your hands. It mimics wet beach sand but stays soft and fluffy without drying out. Unlike regular sand, kinetic sand holds its shape, making it perfect for molding, cutting, scooping, and sculpting. It is widely used in preschool classrooms, occupational therapy sessions, and home sensory bins.
The combination of sensory feedback and fine motor skill development makes kinetic sand ideal for kids of all ages. It can be squeezed, pressed, or crumbled, and it always returns to a perfect moldable texture.
Materials You Will Need
To make your own kinetic sand at home, gather the following:
- 2 cups of fine clean play sand (dry)
- 1 cup of all-purpose flour or cornstarch
- 1/2 cup of baby oil, vegetable oil, or melted coconut oil
- Food coloring or powdered tempera paint (optional)
- Glitter (optional)
- Mixing bowl and spoon
- Airtight container for storage
Make sure your sand is completely dry before starting. If it feels damp, spread it out on a tray and let it air-dry overnight.
Step-by-Step Instructions
Step 1: Mix the Dry Ingredients
Pour the sand and flour into a large mixing bowl. Use a spoon or your hands to mix them thoroughly. This will help the binding agent (flour or cornstarch) distribute evenly.
Step 2: Add the Oil Slowly
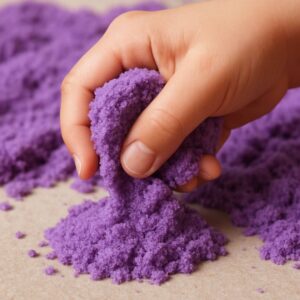
Add the oil a bit at a time, mixing constantly. You want the sand to feel soft, slightly damp, and moldable, but not sticky. Test the texture by pressing a handful into a ball. If it holds its shape without crumbling or sticking to your hands, it’s ready.
Step 3: Add Color or Glitter (Optional)
To make your kinetic sand more fun, add food coloring or powdered pigment. Start with a few drops or pinches and mix thoroughly. For extra sparkle, mix in glitter. This step is optional but adds a creative touch.
Step 4: Store Properly
Transfer your kinetic sand into an airtight container or a resealable plastic bag. Keep it in a cool, dry place. It can last for weeks or even months when stored properly.
Why Is Kinetic Sand So Popular With Kids And Therapists?
Kinetic sand isn’t just a fun toy, it’s a powerful tool used by occupational therapists and educators. Its unique texture helps children develop fine motor skills, encourages imaginative play, and provides a calming sensory experience. Because it sticks to itself and not to hands, it’s also less messy than regular sand, making it a favorite among parents and therapists alike. Whether you’re using it at home, in a classroom, or during therapy sessions, kinetic sand offers hours of screen-free, meaningful engagement.
Educational and Developmental Benefits
Kinetic sand is not just fun, it is also educational. Here’s how:
- Fine Motor Skills: Molding and shaping help children strengthen their hand muscles and coordination.
- Sensory Play: The soft, flowing texture stimulates tactile exploration and calms overactive senses.
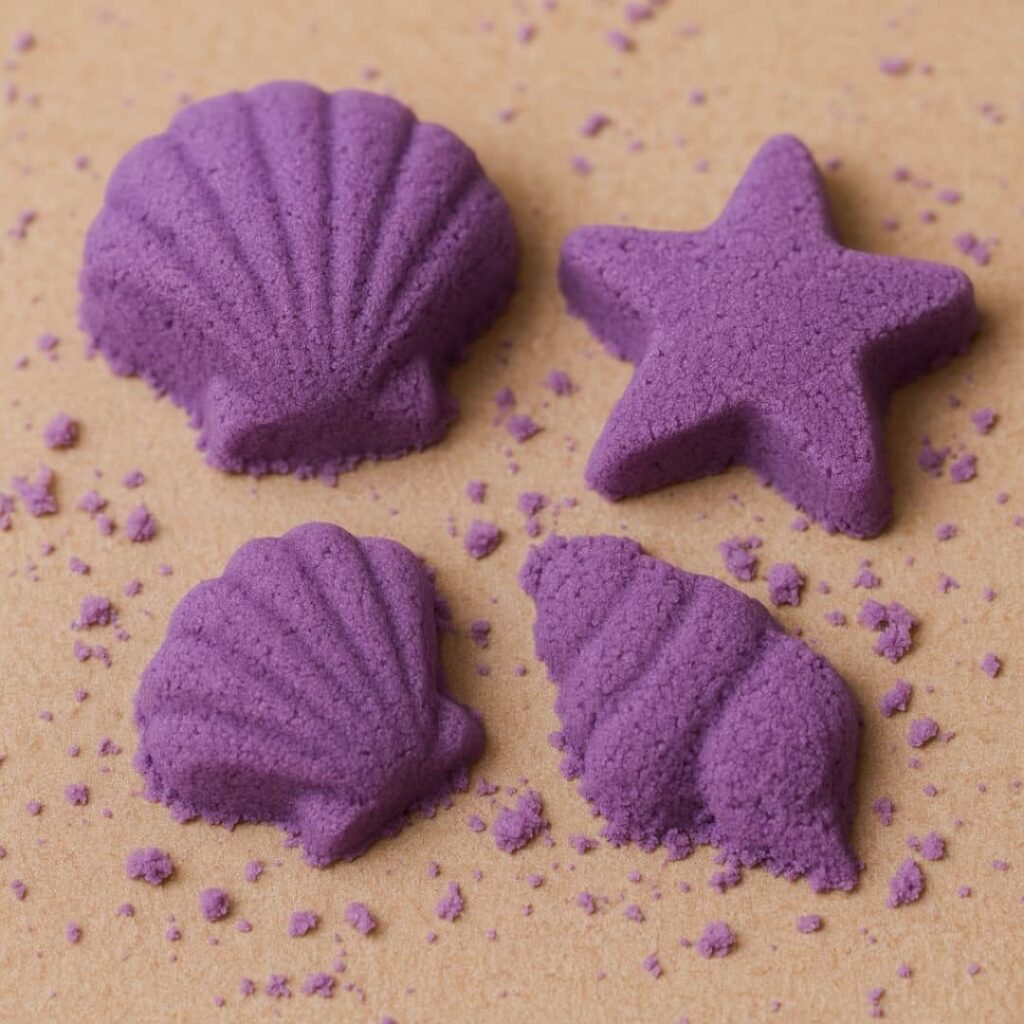
- Creativity: Kids can build animals, vehicles, food shapes, and more. Add toy molds, cookie cutters, or beach toys for creative play.
- Speech and Language: During pretend play, kids narrate what they build, helping expand their vocabulary.
It’s also great for calming anxiety. Many therapists use kinetic sand in stress-relief activities for both children and adults.
kinetic sand recipe : Variations to Try
Want to level up your kinetic sand? Try these fun variations:
- Scented Sand: Add a few drops of essential oils like lavender, vanilla, or lemon.
- Glow-in-the-Dark: Use glow pigments or glowing paint powder.
- Beach-Themed Bin: Add seashells, pebbles, and small sea animal figures to create a mini beach world.
- Color-Changing Sand: Use thermochromic pigments for a magical effect.
Tips and Troubleshooting
- If your sand feels too dry, add a few teaspoons of oil.
- If it’s too oily, mix in more flour or sand.
- Always store in a sealed container to prevent drying out or contamination.
- For a smoother finish, sift the sand through a fine mesh before use.
FAQs
Can I use salt or sugar instead of sand?
No. The texture and weight of real sand are key to the kinetic feel. Substitutes will not work properly.
Is kinetic sand safe for toddlers?
Yes, but always supervise them during play to avoid ingestion. Choose edible ingredients like coconut oil and cornstarch for extra peace of mind.
Can I make it without flour?
Yes. You can use cornstarch or even a mix of cornstarch and baking soda, but the result may be slightly different in texture.
How can I clean it from carpet or clothes?
Let the sand dry completely, then vacuum or shake it off. Avoid using water directly, as it may cause sticking.
Conclusion
This DIY kinetic sand recipe is a fantastic way to bring creativity, sensory learning, and hands-on fun into your home. With just a few simple ingredients, you can make a large batch of custom-colored sand that rivals the store-bought kind. Whether for educational play, rainy-day activities, or calming moments, homemade kinetic sand is a versatile and engaging material every parent should try.
Ready to give it a go? Grab some sand, stir in the magic, and let the sculpting begin.
Kinetic Sand
Ingredients
Main Ingredients
- 2 cups fine clean play sand Make sure the sand is completely dry.
- 1 cup all-purpose flour or cornstarch Use as a binding agent.
- 1/2 cup baby oil, vegetable oil, or melted coconut oil Adds moisture and pliability.
Optional Additions
- to taste food coloring or powdered tempera paint For color enhancement.
- to taste glitter For added sparkle.
Instructions
Preparation
- Pour the sand and flour into a large mixing bowl. Use a spoon or your hands to mix them thoroughly.
- Add the oil a bit at a time, mixing constantly. Test the texture by pressing a handful into a ball.
- If desired, add food coloring or glitter and mix thoroughly.
Storage
- Transfer your kinetic sand into an airtight container or resealable plastic bag. Store in a cool, dry place.


